Windows
This article will introduce how to configure WalleCube Smart UPS on a Windows system. You can choose to use the dedicated client software provided by WalleCube (recommended), or use the Windows built-in power management function.
Method 1: Client Mode (Recommended)
Installing the dedicated client allows you to view the UPS status more intuitively and flexibly set trigger logic such as shutdown and sleep.
Download Windows Client (v0.2.7)- Install Software: Download and install WalleCube UPS Monitor. It currently supports Windows 7 and above operating systems.
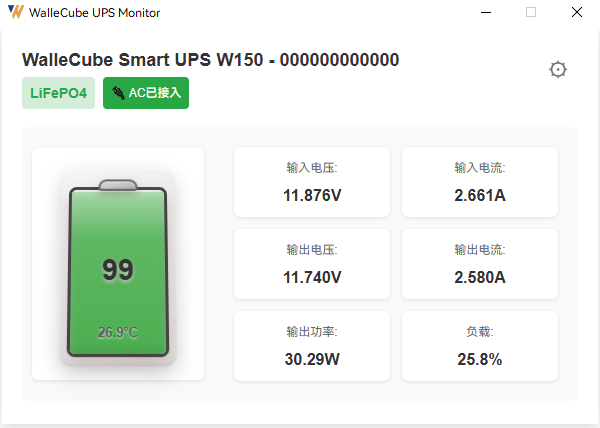
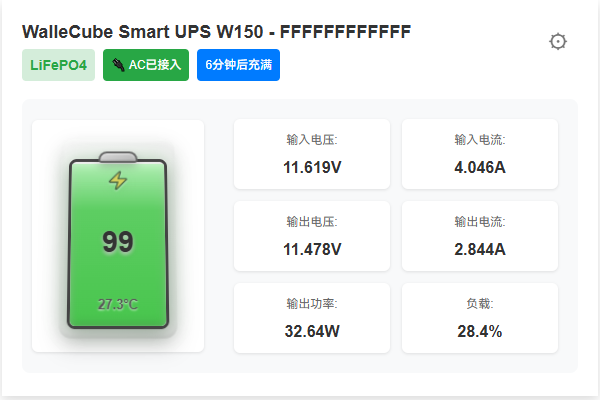
- Automatic Recognition: After connecting the UPS to the computer’s USB port, open the client, and the software will automatically identify and display the connected UPS.

- Configure Shutdown Rules: Click the Settings button in the upper right corner of the software.
- Action: Can be set to “Shutdown”, “Sleep”, or “None”.
- Trigger Threshold: Set the action to be performed when the battery power drops to a specified percentage.
- Save Configuration: After each setting change, be sure to click Save Configuration to ensure it takes effect.

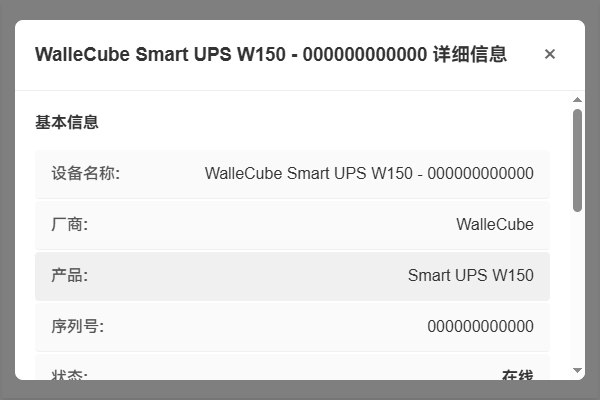
- Status Monitoring: Click anywhere on the software home page to view detailed information such as UPS voltage, load, and remaining time.

Method 2: Windows Built-in Settings
If you don’t want to install extra software, you can use the system’s built-in UPS management function.
- Enter Control Panel: Open Control Panel -> Hardware and Sound -> Power Options.

- Edit Plan Settings: Click Change plan settings next to the power plan currently in use.

- Configure Hibernation Policy: Click Change advanced power settings. In the pop-up window, find the Battery item, where you can set actions (such as hibernation) and their trigger thresholds at low battery.

Remote Power-on (WOL)
Remote power-on for Windows computers also depends on the motherboard and network card hardware support:
- BIOS Settings: Please ensure that WOL (Wake on LAN) or PCI-E Device Wake-up is enabled in the motherboard BIOS.
- System Network Card Settings: In the Windows Device Manager, find the network card, and in its properties “Power Management” tab, check Allow this device to wake the computer.
- App Configuration: Get the network card’s MAC Address and fill it into the Remote Power-on -> Manual Power-on tab of the WalleCube app. Then click Power On Now to test.
